Diving into the world of crochet opens up endless creative possibilities. Understanding how to read a crochet pattern can initially feel like deciphering a foreign language. With its unique set of abbreviations, symbols, and instructions, a crochet pattern might seem daunting to beginners.
Learn how to read crochet pattern instructions with this guide. Understand key elements such as stitch abbreviations, notes and symbols, and master techniques for interpreting the notes section. Perfect for beginners and seasoned crocheters alike, this guide will help you decode patterns and create beautiful projects with confidence.
While it’s important to understand all the elements of a crochet pattern, this blog post focusses on how to read the pattern instructions, helping you turn those seemingly cryptic codes into beautiful handmade creations. Whether you’re picking up your hook for the first time or looking to refine your skills, mastering pattern reading is a crucial step in your crochet journey. Let’s get started and unravel the mystery of crochet patterns together!
Before we get started in deciphering the pattern instructions it is essential to know whether a crochet pattern is written in US or UK terms.
This is crucial because the same stitch names can refer to different stitches in each version. For instance, a “double crochet” in US terms is equivalent to a “treble crochet” in UK terms. Misinterpreting these terms can lead to significant differences in the size, texture, and appearance of your finished project.
Therefore, always check the pattern’s terminology at the beginning to ensure you’re following the correct instructions and achieving the desired outcome.
The indication of whether a crochet pattern uses US or UK stitches is often found in several key places within the pattern:
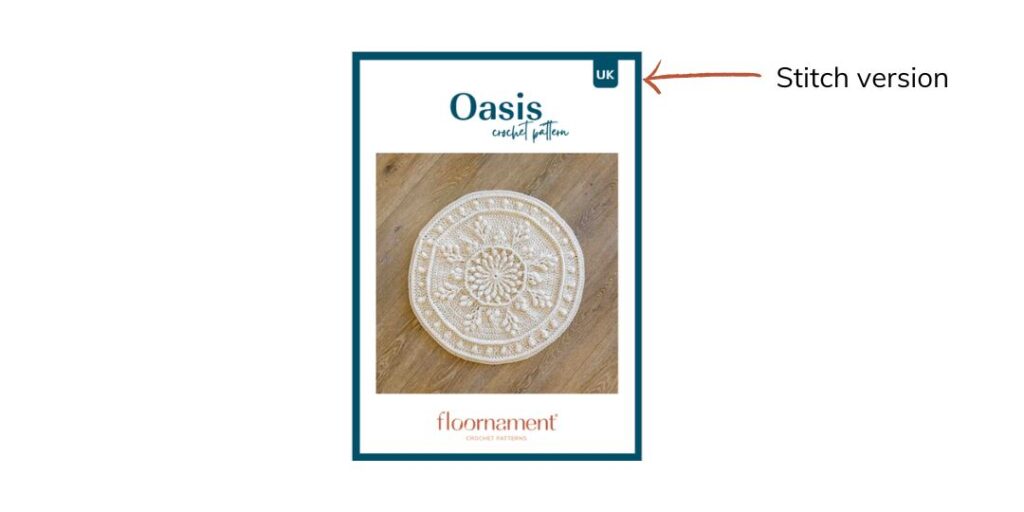
Pattern Cover Page or Introduction: Sometimes, the pattern will explicitly state “US terms” or “UK terms” in the title or introductory section.
Abbreviations List: At the beginning of the pattern, there is usually a list of abbreviations used. This list will often mention if they follow US or UK conventions.
Notes or Instructions: Some patterns include a notes section where the designer specifies the terminology used.
Website or Source Information: If the pattern is from a website or a designer known to use a specific terminology, this can also be a clue.
Ensuring you identify the correct terms early on helps avoid confusion and ensures your project turns out as intended.

While the focus of this blog post is on understanding crochet pattern instructions, it’s equally vital to grasp all elements of a pattern. These elements include stitch abbreviations, pattern details, and considerations for yarn substitution.
You can explore these elements further here.
The Abbreviations, Symbols and Notes sections of a Floornament rug pattern give information about a variety of pattern instructions. All other well-written crochet patterns will include similar sections. Be sure to read through the entire pattern before starting to crochet in order to successfully complete the project as each designer can write instructions slightly differently.
Below are the Abbreviations, Symbols and Notes sections of one of my Floornament rug patterns.
Notes
It is important to read through these notes so you fully understand how I write my patterns and you can achieve the best results.
Abbreviations
BL…………………………………… Back Loop
BP…………………………………… Back Post
ch…………………………………… chain
ch-sp(s)……………………………. chain space(s)
CStr………………………………… Chainless Starting treble crochet
CL…………………………………… Cluster
dc…………………………………… double crochet
dtr…………………………………… double treble crochet
FL…………………………………… Front Loop
FP…………………………………… Front Post
htr…………………………………… half treble crochet
inv slst……………………………… invisible slip stitch
PC………………………………….. Popcorn stitch
puff…………………………………. puff stitch
slst………………………………….. slip stitch
sp(s)………………………………… space(s)
st(s)…………………………………. stitch(es)
TL…………………………………… Third Loop
tog………………………………….. together
tr…………………………………….. treble crochet
Download printable Crochet Abbreviations PDF.
Symbols
( ) Work enclosed instructions in the next stitch or in the space indicated.
* * or [ ] Repeat enclosed instructions as many times as specified.
Underlining Highlights instructions that may be unexpected or easily missed.
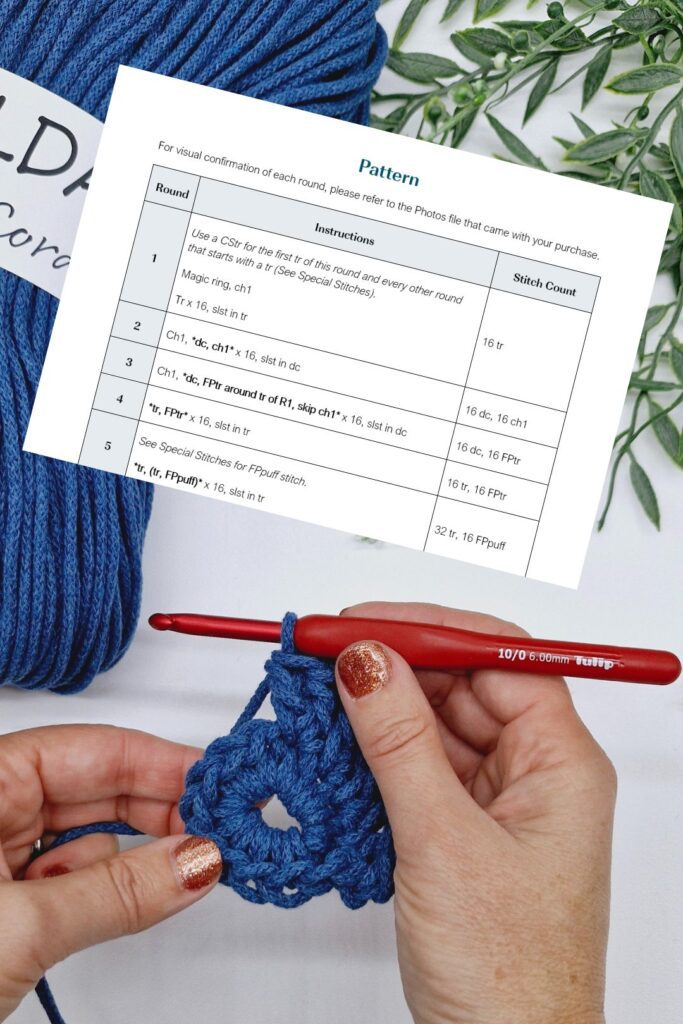
Now let’s combine these elements to interpret a round of crochet instructions.
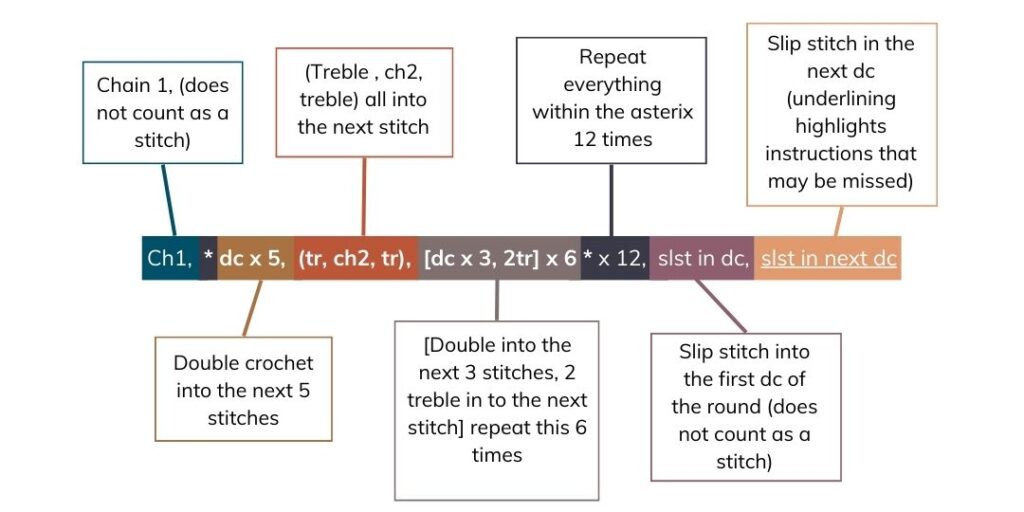
Ch1, *dc x 5, (tr, ch2, tr), [dc x 3, 2tr] x 6* x 12, slst in dc, slst in next dc

If you were to crochet this round you would crochet:
Ch1, *double crochet in the next 5 stitches, (treble crochet, chain 2, treble crochet) into the next stitch, [double crochet in the next 3 stitches, 2 treble crochet in the next stitch] repeat within the [ ] 6 times,* repeat within the * * 12 times, slip stitch in the first double crochet of the round, slip stitch in the next double crochet.
If you’re new to crocheting and this all seems a bit overwhelming, don’t give up. Keep practising and you’ll get there!

Hi, I’m Andrea!
I am a wife and mum of 6 kids.
I love to camp, eat chocolate and I’m addicted to crochet!
Floornament was born out of a love of crochet and a desire to create crochet patterns so that others can decorate their home with beautiful crochet floor rugs.
FOLLOW ME
Take me to…